Part 3: APPLICATION TECHNIQUE
Clean direction is what makes your sets look incredible. Even with perfect attachment, if the lashes lean or criss-cross, the whole set can look messy especially in photos or as they grow out. Getting this part right keeps your work looking consistent while lasting weeks and weeks.
Here’s how to practice and perfect it:
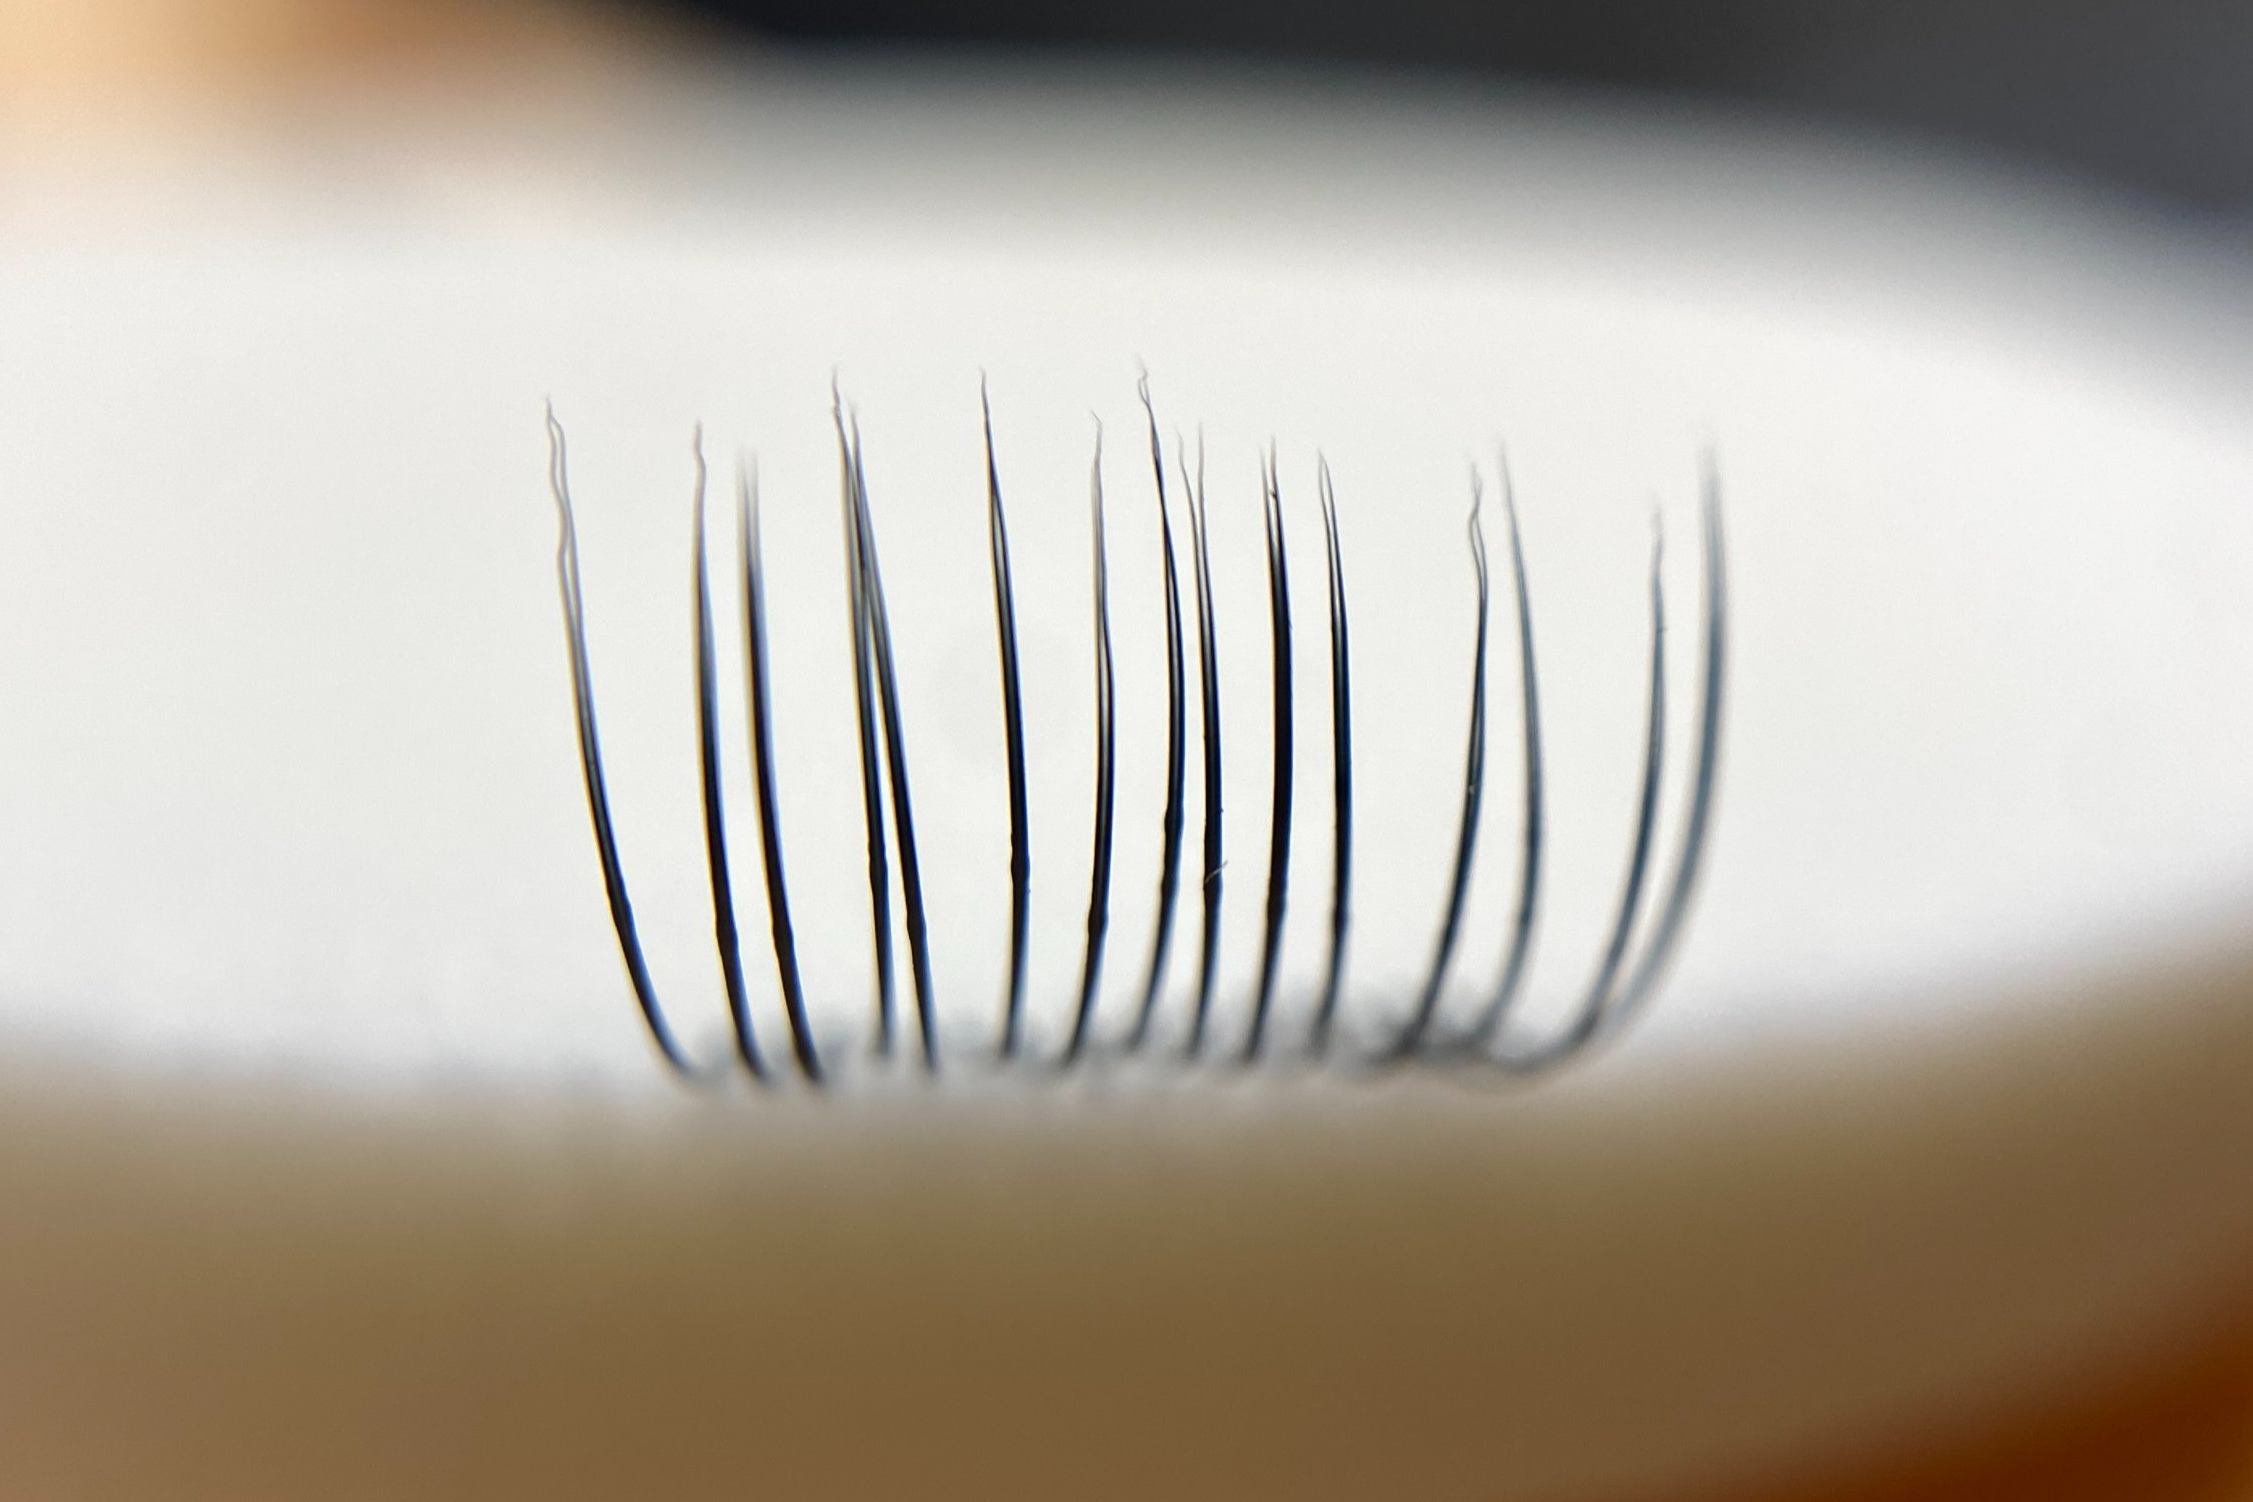
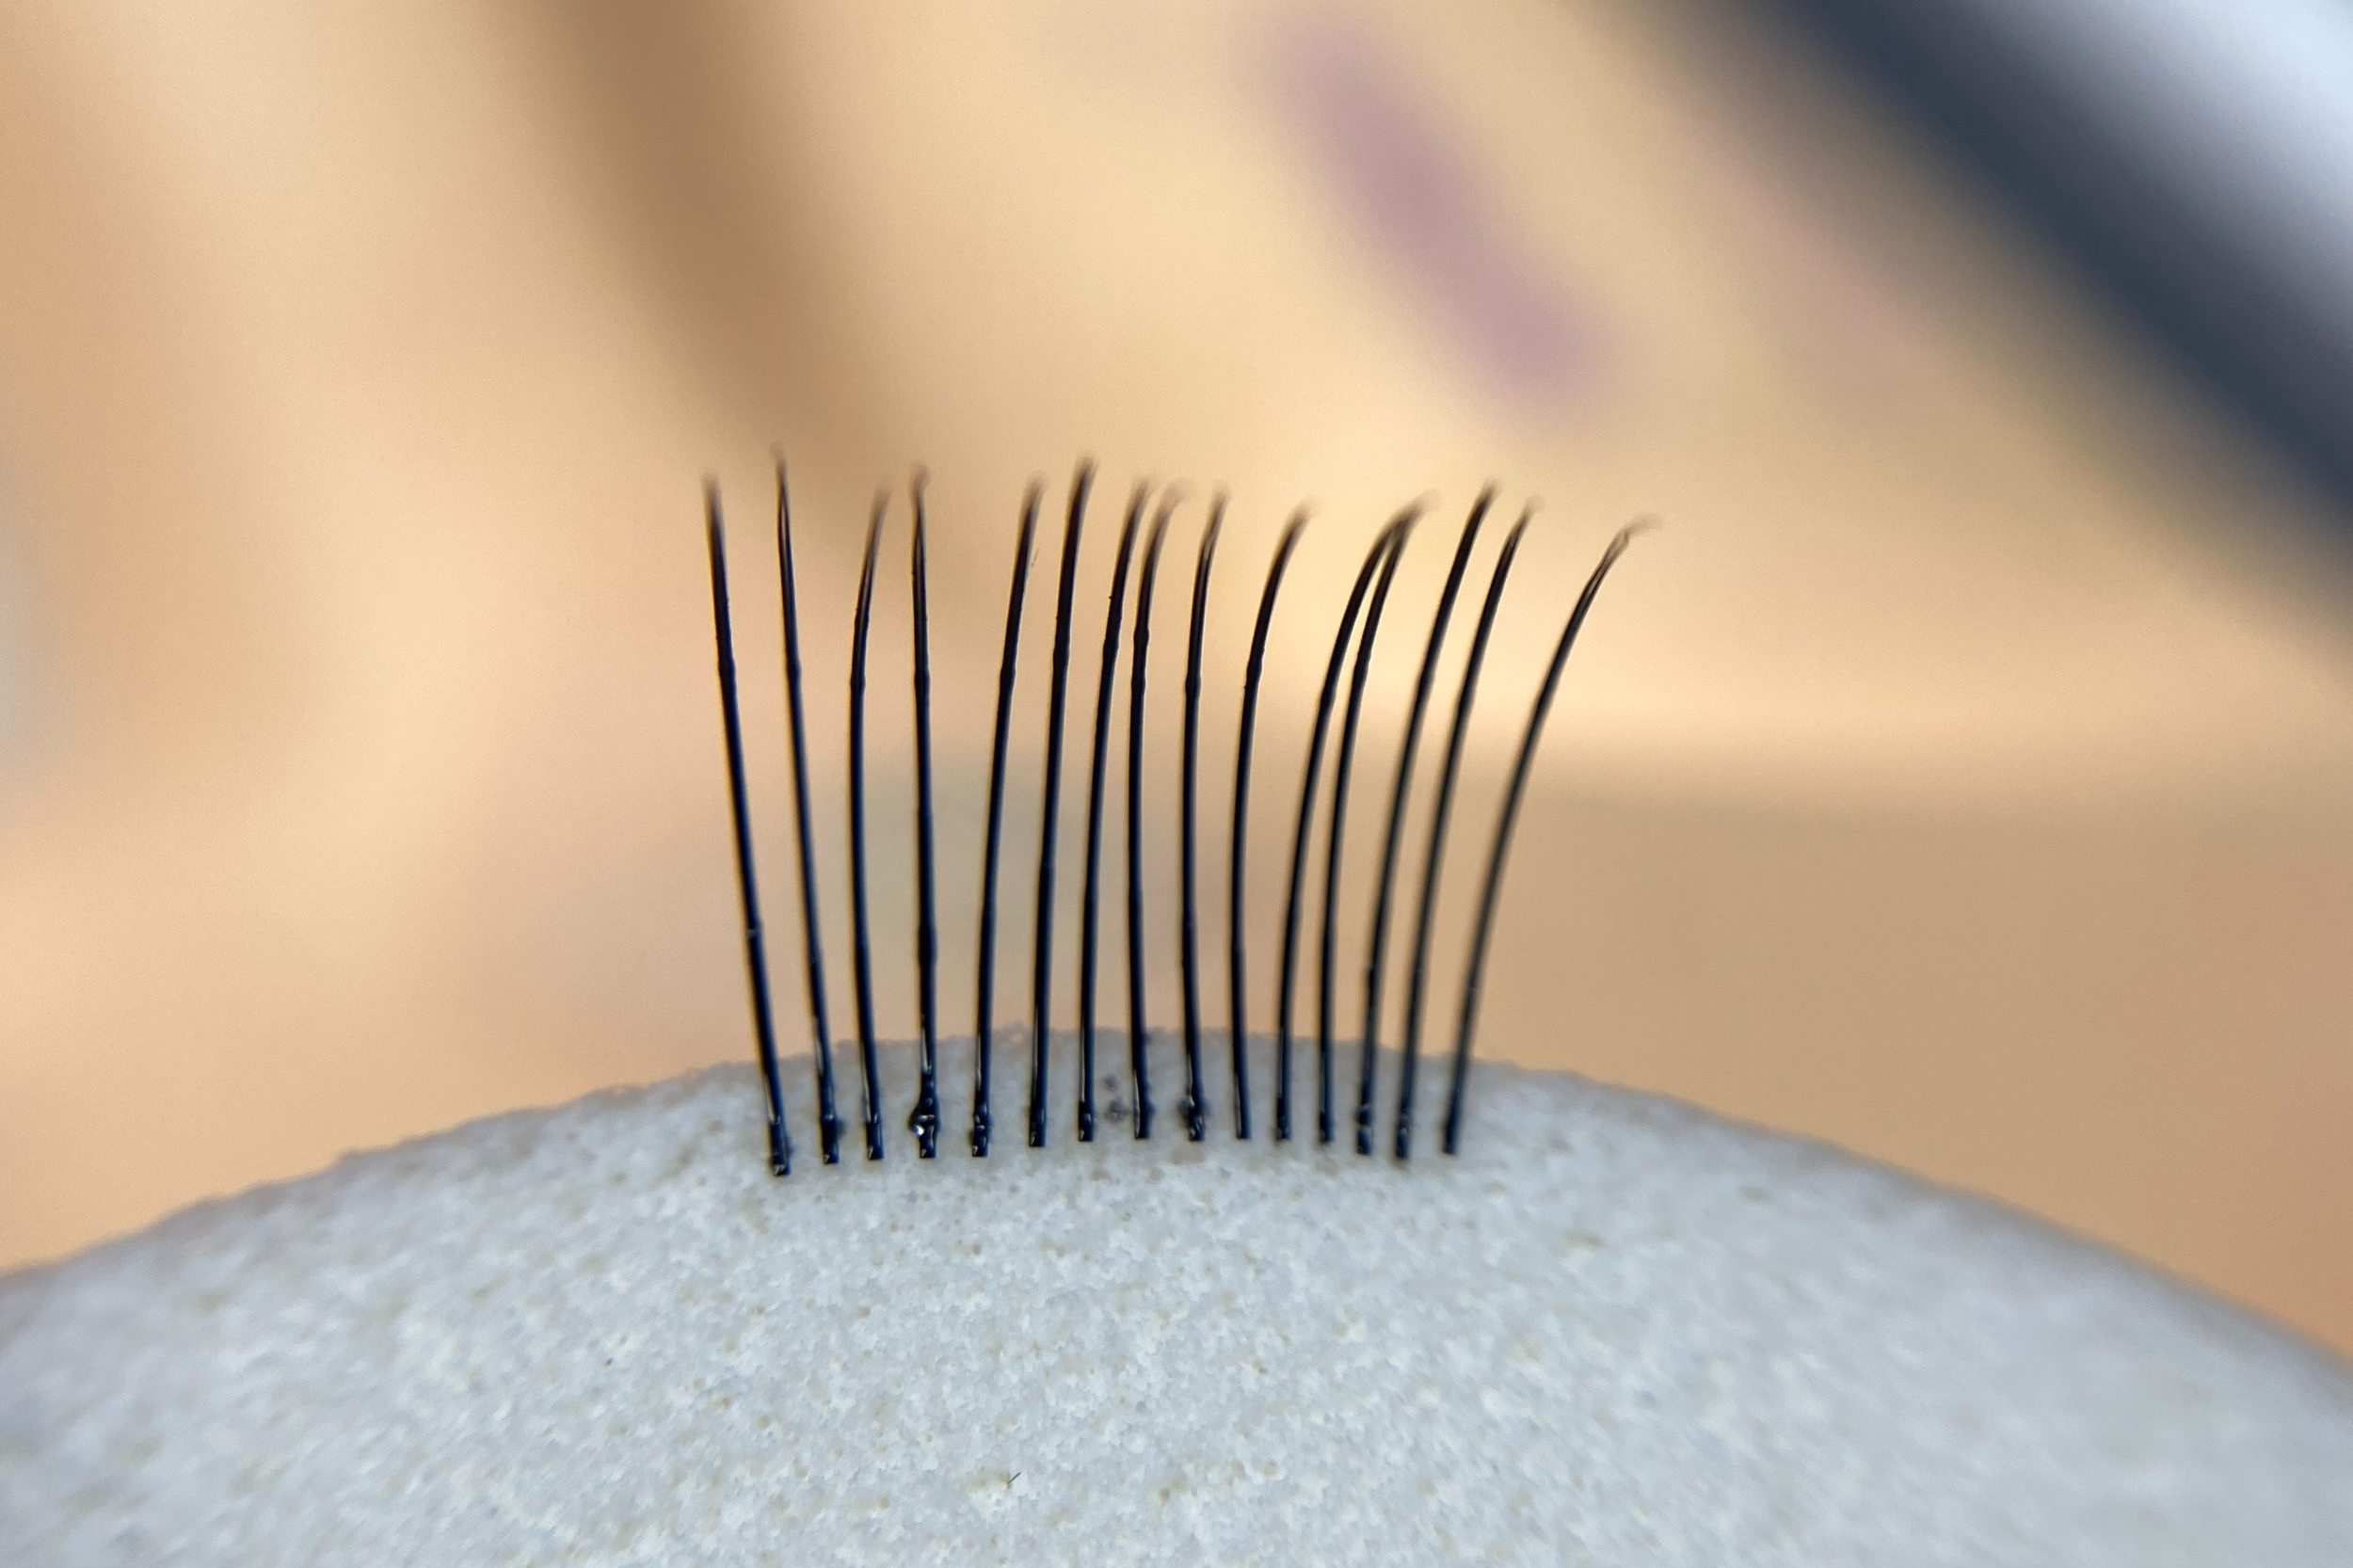
Train your hand and eye: Use a makeup sponge and lash tile to practice. Place lashes along the sponge’s curve, then flip it around to view from every angle. Lashes often look straight from one angle but crooked from another.
Keep placement simple: Ideally, you should be able to pick up, place and leave the lash. If you need to adjust, do it quickly before the adhesive sets, but avoid over-correcting each lash because it slows you down and can make the adhesive bond weak.
Use a mirror: Check your work from underneath to catch lashes pointing the wrong way or leaning. If one throws off the flow of the set, remove and replace it rather than letting it grow out looking uneven.
Build consistency over time: As your skill develops, you’ll need fewer corrections because your initial placements will naturally sit straighter. For now, the key is to make checking from different angles part of your habit so every set looks clean from every view.